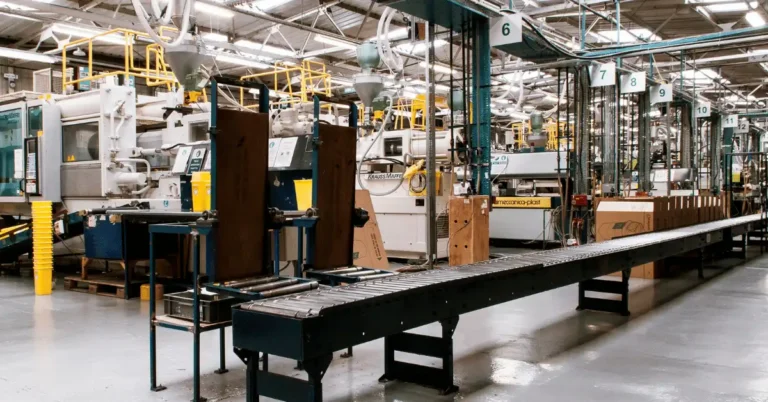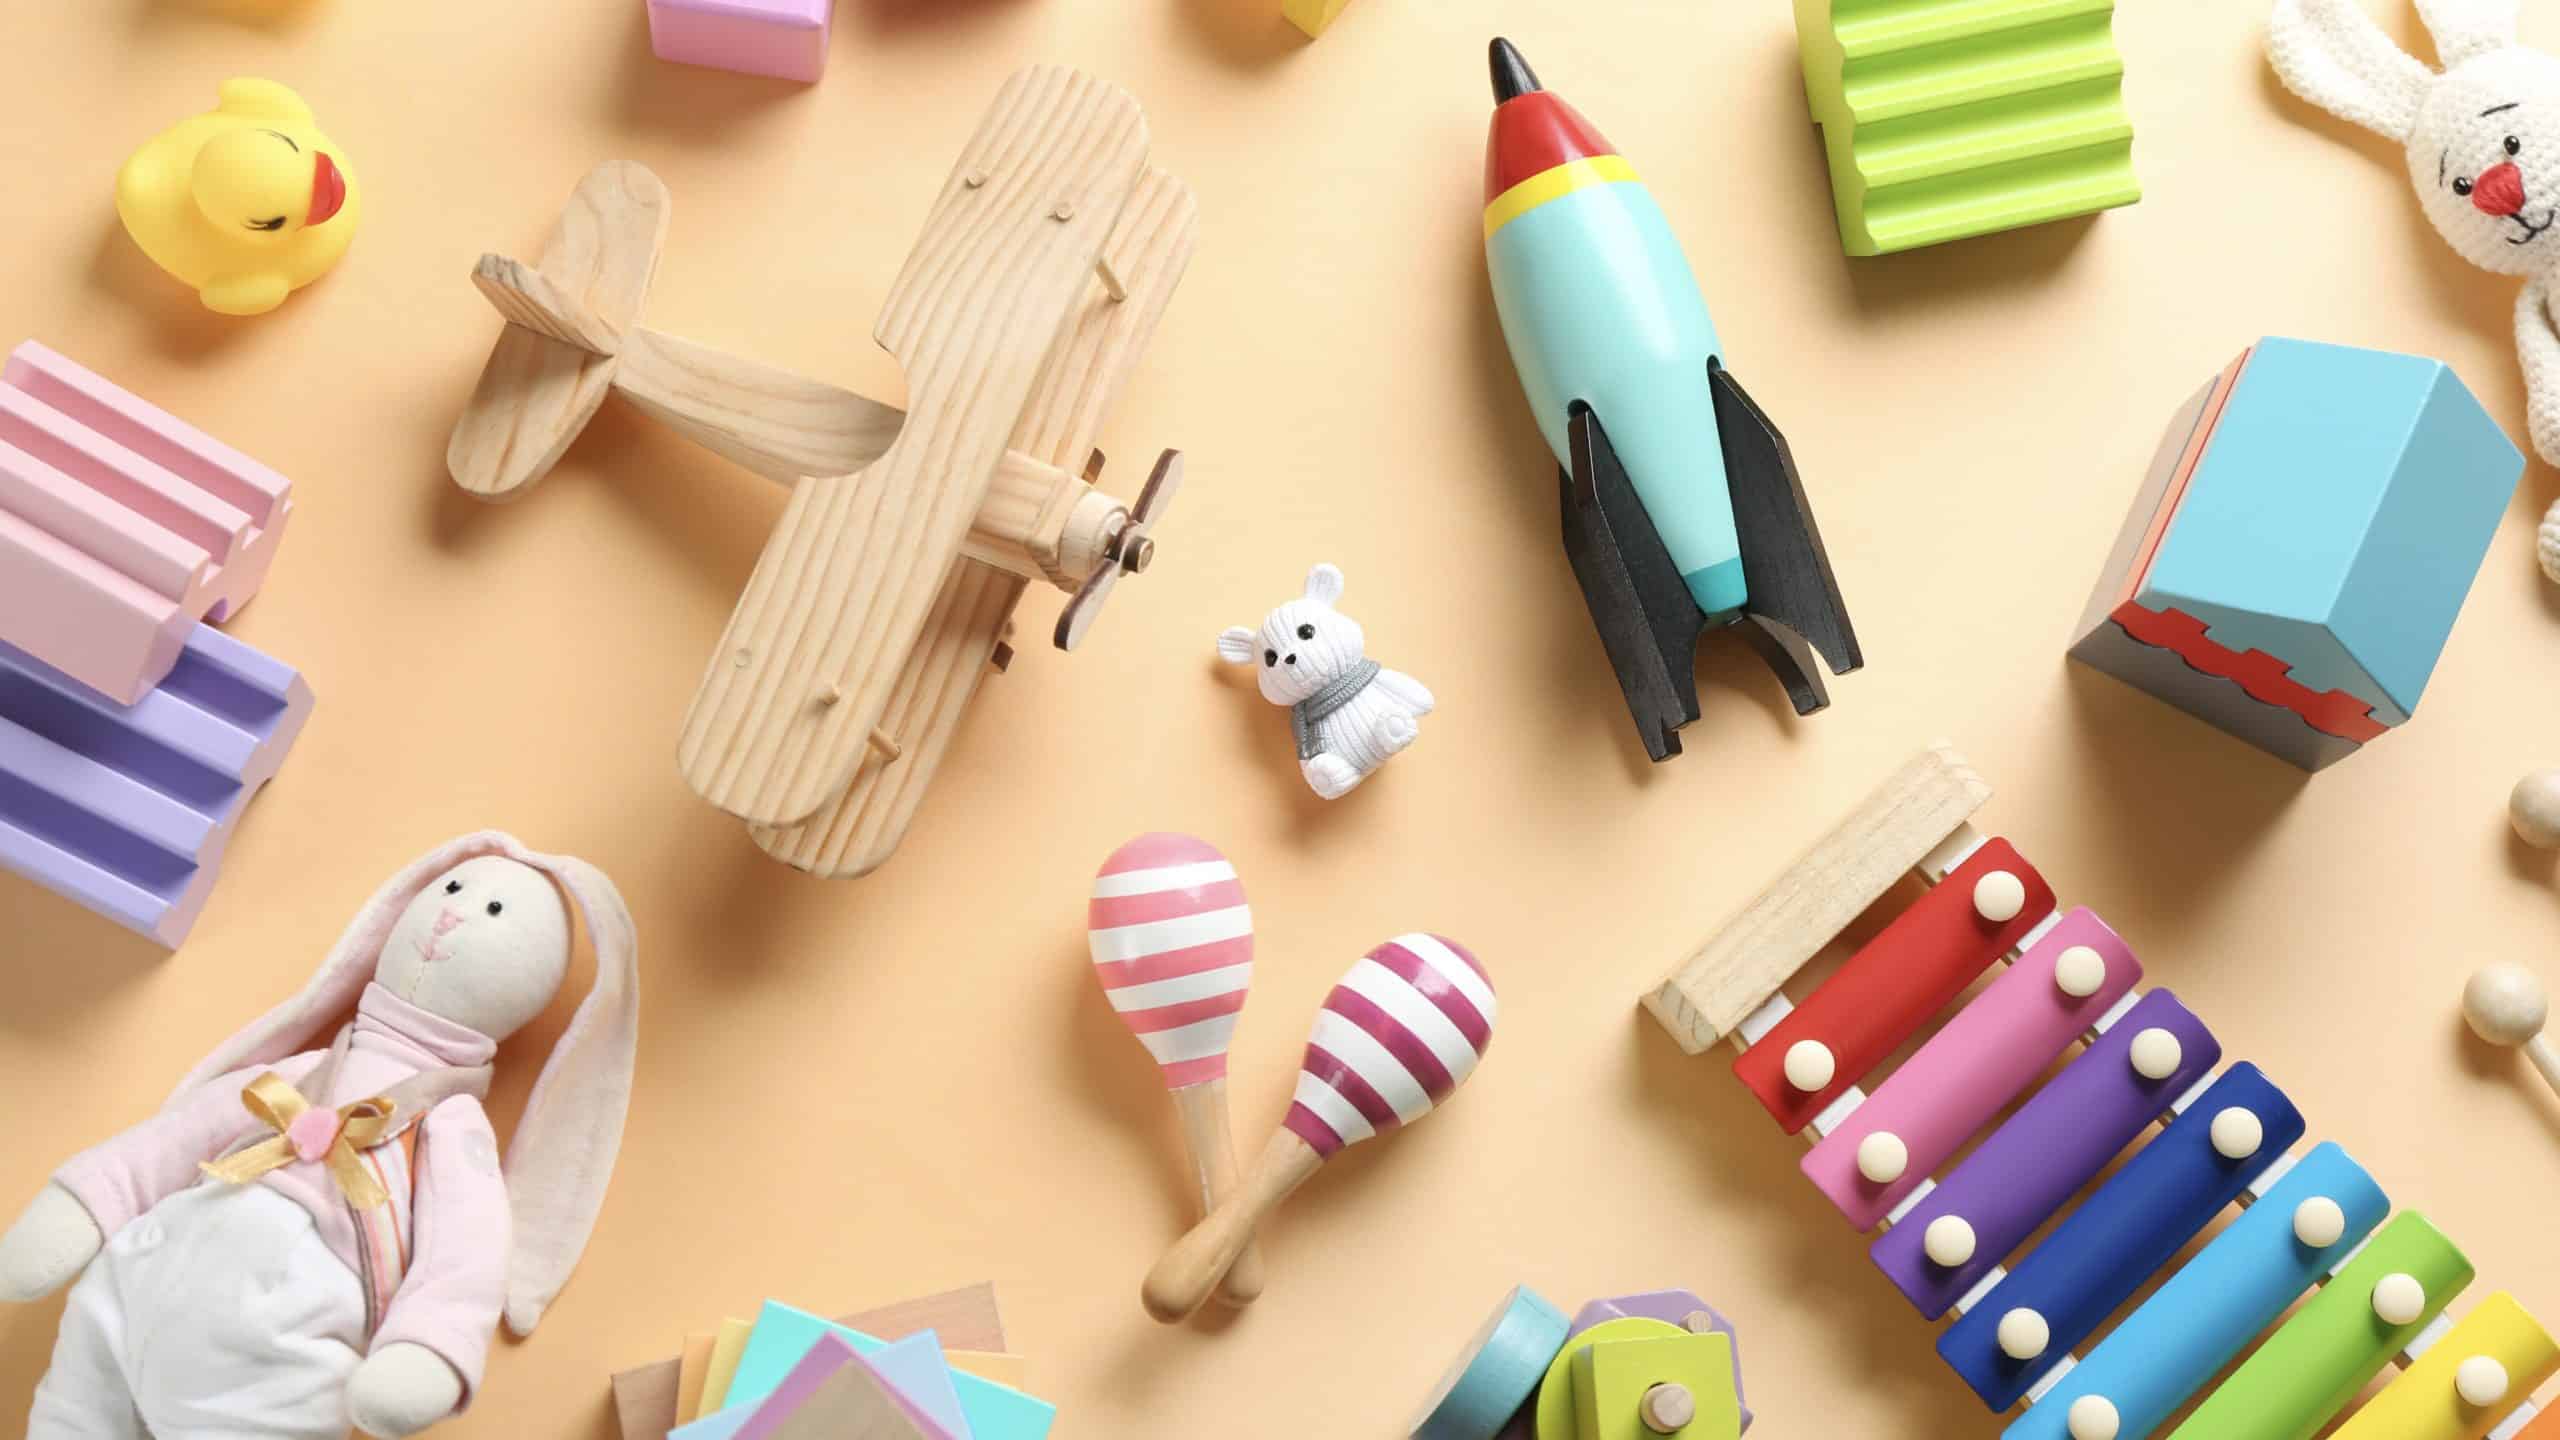
The toy manufacturing process turns an idea into a finished product through design, prototyping, factory sourcing and production. Plan the target age and safety requirements early. These decisions affect materials, construction and testing before you commit to tooling.
This guide covers how to manufacture a toy from a rough sketch to inventory ready for sale. It is for founders, inventors and product teams planning their first production run. Gembah’s toy product development experts can help you assess the work needed between concept and production.
Toy manufacturing process at a glance
The toy manufacturing process turns a toy idea into a production-ready product through design, prototyping, safety planning, factory sourcing and production. Consider safety requirements during design so they can guide materials, construction and testing before mass production.
| Stage | What happens | Main risk to avoid |
|---|---|---|
| Idea validation | Confirm the toy is useful, safe and marketable. | Building a toy no buyer wants. |
| Design | Create sketches, 3D models, materials and product specs. | Designing something that can’t be manufactured affordably. |
| Prototyping | Build and test looks-like and works-like samples. | Moving to tooling before the design is proven. |
| Safety planning | Check age grading, small parts, labels and testing needs. | Failing safety tests late in the process. |
| Factory sourcing | Compare toy factories by capability, compliance, cost and quality systems. | Choosing the cheapest factory instead of the right one. |
| Production | Finalize tooling, samples, packaging, QC and shipping. | Delays, defects or landed costs that hurt margin. |
You may need input from designers, engineers and testing labs at different stages. Define who owns each decision and what needs approval before the next stage begins.

Step 1: Come up with an idea for your toy
Begin with a toy idea and a clear description of the intended play experience.
Test the idea against buyer needs, likely costs and the safety requirements for your target age group.
1.1. Is the toy product idea unique and marketable?
Study the market you plan to enter. Compare retail shelves, online listings and specialist stores. Your toy needs a clear reason for a buyer to choose it.
For example, a toy could be easier to store, simpler to set up or designed for a specific play activity. Turn that difference into requirements a designer and factory can work with.
Read competitor reviews and look for repeated complaints. Broken parts, confusing setup or difficult cleanup can reveal useful design opportunities. Check whether your intended buyers value a proposed improvement.
Visit large retailers and specialist toy stores. Compare products across price ranges and review seasonal displays when they are relevant to your launch.
Record packaging, age labels and warning information. Compare the quality and features offered at your target price. Use those observations to refine the product brief.
1.2. Will your toy be able to sell?
Once you’re confident your idea is unique and marketable, the next step is to confirm whether your toy appeals to buyers and end users. For toys, that means thinking about both children and the adults who pay for the product.
Parents, educators and retail buyers can value different features. Confirm which buyers you want to serve and how they will assess the toy.
A few essential questions to understand the value of your idea:
- Is the toy fun after the first use?
- Is the toy durable enough for real play?
- Is the toy worth the price it will need to sell for?
- Does it follow all safety rules and regulations for the target market?
- Will children understand the play pattern quickly?
- Will parents understand the value quickly?
- Is there growth potential through variations, accessories, characters or future SKUs?
Test the play experience and durability with appropriate supervision. Check that the planned price matches the value buyers see. Safety review needs to continue as the design develops.
To further understand the market, use the U.S. Small Business Administration’s market research and competitive analysis guidance. It explains how market research helps you find customers and how competitive analysis helps make your business unique.
Consider whether the idea can support accessories or future versions. Keep the first product focused on the play experience you have validated. Extra features add development and production work.
1.3. Is your toy cost-effective?
Start with a target selling price and work backward through the budget. Include factory costs, tooling and testing. Allow for freight, duties and packaging. Then account for channel fees, marketing and returns.
A prototype helps reveal whether your toy can be made at a realistic cost. Complex electronics, many small parts, custom molds, hand painting, licensed artwork and difficult assembly can quickly push a toy outside its target price range.
Compare your planned price with similar products. If it is higher, confirm that buyers value the difference enough to pay for it.
Depending on the type of toy you have in mind, you might need to contact a toy manufacturer to get cost estimates.
Ask factories to quote against a clear design package. Compare setup costs and unit costs separately. A low unit price can still require a large tooling or inventory commitment.
1.4. Is your toy safe?
In the U.S., CPSC toy safety guidance states that toys intended primarily for children 12 and under require third-party testing and a Children’s Product Certificate for applicable safety requirements. Use a CPSC-accepted laboratory for testing that requires one. The domestic manufacturer or importer is responsible for certification.
Safety guidelines vary by age group and the country where a product is being sold.
Confirm the intended age and the rules for each sales market with a qualified compliance specialist. An age label alone does not establish that a toy meets those requirements.
Safety planning should happen before the prototype is finalized. Age grading, small parts, sharp edges, cords, magnets, projectiles, button batteries, sound levels, phthalates, lead, coatings, stuffing, seams and warning labels can all affect design choices. The CPSC ASTM F963 chart can help you understand which toy safety sections may apply to different toy types.
Toy safety checklist before production
Before approving a final sample, confirm whether your toy needs checks for age grading, small parts, sharp points, magnets, batteries, cords, flammability, coatings, stuffing, sound levels, warning labels and packaging claims. Also confirm which rules apply in each market where you plan to sell.
- Age grading and intended user age
- Small parts, magnets, cords, projectiles, button batteries and sharp points
- Material risks, including coatings, stuffing, phthalates, lead and flammability
- Sound levels, seams, durability and abuse testing needs
- Warning labels, tracking labels, instructions and packaging claims
1.5. Are you legally protected?
Legal protection means more than having a good idea. It can involve patents, design patents, trademarks, copyrights, license agreements, manufacturing agreements, nondisclosure agreements and clear ownership of design files.
The first step is to conduct intellectual property research. Use the USPTO Patent Public Search to look for similar patents and the USPTO trademark database to check potential brand names, product names and character names.
A preliminary patent or trademark search can help you identify issues to discuss with an attorney. It does not establish that your product is free to use or that you can protect every feature.
You can conduct early research yourself, but you should talk to a qualified attorney before investing heavily in tooling, licensing or public product launches. Legal review is especially important if your toy includes a new mechanism, character, brand name, game system or collectible universe.
Step 2: Identify your target audience
Define the target age, buyer and play setting before finalizing the design. A toddler toy has different design and safety needs from a kit intended for older children. Review adult collectibles according to their actual intended use and market.
For example, a travel toy for preschoolers may need compact packaging and easy cleanup. A science kit for older children may need clear assembly instructions. Use the intended play activity to guide the design.
The target audience informs packaging, price and sales channels. It also helps your compliance specialist assess age grading and applicable requirements.

Step 3: Learn how to design a toy
Once you have a viable idea and an appropriate target audience, you can create the design. The following list is a step-by-step guide that will help you better understand how to design a toy.
The Evolution of Modern Toy Design
Toy design connects the play experience with engineering and manufacturing choices. Review Gembah’s toy product design and manufacturing guide for more detail.
For baby toys, examine cleaning needs and foreseeable use during design. Materials, durability and warnings should support the intended age and play activity.
Companies entering the market today can manufacture in many regions, including China, Vietnam, India, Mexico and domestic or nearshore markets depending on the toy category. The best location depends on tooling, materials, labor, compliance support, cost, supplier depth and target sales market.
Set measurable quality requirements before comparing factories. Document what the toy must do and how you will check it. Share those requirements with your designer and production team.
3.1. Have a detailed brainstorming session
Use the brainstorming session to agree on appearance, play activity and target age. Define key features, likely materials and the price range.
Record the decisions in a product brief. Revisit that brief when a design change affects cost, safety or the play experience.
3.2. Prepare sketches of the toy
Create rough product design sketches yourself or work with a designer. Include the key details agreed in your product brief.
Consider factors like size, colors, texture, movement, electronics, accessories, packaging and possible variations.
When making stuffed toys or figurines, try out different expressions and styles until you find a sketch that you are happy with. For plastic toys, think early about part count, seams, wall thickness, assembly and how the toy will come out of the mold. For wooden toys, consider edges, finishes, splinter risks and durability.
3.3. Create a 3D depiction of your toy
Once the sketch is ready, it’s time to create a 3D depiction. A 3D model helps show the toy’s shape, proportions, parts and assembly more clearly than a flat sketch. It also helps manufacturers estimate tooling, material use and production feasibility.
You can also opt for more traditional routes, such as hiring a sculptor or model maker to create a handmade 3D depiction of the toy. A tangible model can be helpful in the next phase of manufacturing a toy: prototype development.

Step 4: Learn how to create a toy prototype
Product prototype development lets you test the toy before committing to production tooling. Samples can help explain the idea to factories, investors or retail buyers. They also reveal design changes that affect cost and manufacturing.
Many important factors come into play when building a toy prototype:
- Determining the mode of production of the toy
- Creating or planning molds, patterns, dies or tooling
- Deciding the materials
- Testing the toy’s play pattern, durability and safety risks
- Documenting what must match the final production version
To determine the toy’s mode of production, you need to decide whether the toy will be sewn, molded, cut, printed, assembled from off-the-shelf parts or manufactured through a mix of methods. A plush toy, a wooden puzzle, a plastic figure and an electronic learning toy all require different production routes.
Work with an engineer, designer or toy development specialist to review the prototype. Check whether it works as intended and can be manufactured. Use the safety review to identify changes before tooling.
Silicone molds can produce early resin samples from a model. They can help you compare appearance and dimensions. Prototype materials may differ from production materials, so the sample does not establish production safety or durability.
Injection-molded plastic toys commonly use metal tooling for production. Review the prototype and engineering files before approving that expense. Other toy types can use different processes and tooling.
For injection-molded toys, tooling choices affect part quality, cycle time, cost, surface finish and durability. For rotational molding, blow molding or vinyl production, the mold and process must match the toy’s shape and material. For plush toys, patterns, fabric, embroidery, seams, stuffing and needle detection become more important than steel tooling.
A toy can combine several production methods. For example, it might have a molded body and sewn accessories. Compare the total assembly and quality-control costs before assuming a mixed process will save money.
For the manufacture of soft toys, you must determine appropriate fabrics, threads, embroidery, eyes, labels and stuffing material. Manufacturing soft toys may require less hard tooling than plastic toys, but sewing labor, consistency, seam strength and material safety still require careful control.

Step 5: Find a toy factory
For mass production, compare factories with experience in your toy category. Factory sourcing should assess materials, production processes and quality systems alongside price.
A factory that makes plush toys may have different equipment and staff skills from one that produces electronic toys. Ask to see relevant samples and production records.
Independent toy manufacturers also have a host of options when searching for a factory that can cater to their needs. You can outsource the toy manufacturing process to other countries such as China, Vietnam, India, Mexico or other manufacturing regions depending on the product type and target market.
Verify the supplier’s identity and capabilities. Review samples, references and audit information. Arrange an on-site assessment when the project needs one.
Confirm that the factory can follow your approved specifications and support the testing plan. Keep those requirements in the production agreement.
Work through the following checklist when picking a factory:
- Has the factory made this type of toy before?
- Does the factory have the tooling, sewing, molding, assembly, finishing or electronics capability required?
- If using multiple molds or production steps, are there adequate assembly lines available?
- Is there a rigorous quality control department overseeing the process?
- Can the factory support CPSC-accepted third-party testing where required?
- Are outgoing batches of toys inspected and tested against approved samples and specifications?
- Can the factory meet your packaging, labeling, warning and tracking-label requirements?
- Can the factory provide references, audit history and clear production timelines?
Once the factory provides satisfactory answers to these questions, check references from other clients and review samples before committing to production. Quality control and safety measures must meet the standards of the countries where you plan to sell the toy. In the U.S., use CPSC-accepted laboratories for required children’s product testing and maintain the compliance documents buyers or marketplaces may request.
How much does it cost to manufacture a toy?
Toy manufacturing costs vary with materials, tooling and order quantity. A plush toy can need less hard tooling than an injection-molded toy, but both need a safety plan. Include packaging and shipping before comparing margins. Ask for quotes against the same specifications and quantities.
| Cost area | What to budget for | Why it matters |
|---|---|---|
| Design and engineering | Sketches, CAD, tech packs, materials and specs | Factories need clear files to quote accurately. |
| Prototyping | Sample materials, prototype builds and design revisions | Early testing reduces tooling risk. |
| Tooling | Molds, dies, fixtures and setup costs | Tooling can be one of the largest upfront costs. |
| Safety testing | Lab testing, age grading and certifications | Required for many children’s products. |
| Production | Materials, labor, packaging, QC and assembly | Determines landed cost and margin. |
| Freight and duties | Shipping, tariffs, warehousing and delivery | Affects final cost before launch. |
Typical toy manufacturing timeline
Allow time for design, prototypes and revisions before tooling. Add the laboratory’s testing schedule and the factory’s production lead time. Build in room for failed tests, sample changes and shipping delays. A seasonal launch needs a schedule based on actual supplier and laboratory commitments.
| Phase | What happens | Timing risk |
|---|---|---|
| Concept and design | Research, sketches, CAD, materials and target age range | Unclear requirements slow every later step. |
| Prototype and revisions | Looks-like samples, works-like samples and play testing | Skipping revisions can create tooling or safety failures. |
| Tooling and pre-production | Molds, patterns, golden sample approval and packaging files | Tooling changes can add major delays. |
| Testing and certification | Lab testing, documentation, warnings and certificates | Failed tests may require design changes. |
| Production and delivery | Bulk production, inspection, freight and fulfillment | Shipping delays can miss retail or holiday windows. |

Step 6: Lock in your supply chain strategy
Connect your factory plan with material supply, delivery and customer demand. Each stage needs an owner and a clear handoff.
Keep the following steps in mind:
6.1. Planning your supply chain approach
This step consists of everything you must do before mass manufacturing can begin:
- Coming up with an idea
- Validating demand and target age range
- Building and testing a prototype
- Creating drawings, specifications and a bill of materials
- Finding and vetting a manufacturing plant
- Planning testing, packaging, logistics and launch timing
6.2. Procurement: Secure the materials and components you’ll need
Now that you have a plan in mind, you need to think about the raw materials required and their sources. This step will vary depending on the type of toy you have in mind.
Confirm that purchased materials match the approved specifications. Require approval for substitutions. A change can affect quality or trigger further testing even when the toy looks the same.
6.3. Manage Production and Quality Control
Once the factory is selected, the work shifts to production planning, material control and quality checks. Keep approved samples, inspection requirements and production changes tied to the purchase order. Confirm which production-management tasks Gembah can support for your project.
Some of the key steps include:
- Demand forecasting
- Identifying bottleneck processes
- Throughput and cost analysis
- Performance and productivity management
- Incoming material checks
- In-process quality control
- Final inspection and pre-shipment review
Before full production begins, approve a golden sample. This is the physical sample the factory, inspector and internal team use as the production standard. Keep it documented with photos, dimensions, materials, colors, markings, packaging and any testing requirements.
6.4. Lock in your delivery process
Choose a delivery model that fits your sales channels. Compare direct-to-consumer fulfillment, retail delivery and third-party logistics. Confirm storage space, packaging needs and delivery deadlines before placing the production order.
Your delivery plan may involve several partners:
- Wholesale dealers
- Retailers
- Ecommerce fulfillment partners
- Freight forwarders and carriers
Agree on routing, delivery dates and return handling with the partners you use. Include their fees and packaging requirements in the budget.
6.5. The role of retailing & toy retailers
Retailers are vital because they have direct interaction with your consumers. Retailers may require margins, packaging standards, barcodes, safety documents, insurance, inventory commitments, marketing support and promotional programs before they carry your toy.
Confirm the retailer’s purchasing terms before you commit inventory. Compare the expected margin with promotional costs and any packaging or delivery requirements.
6.6. Analyze consumption after the initial sales happen
After launch, compare sales and returns with your forecast. Review customer feedback for recurring problems. Use those findings to plan changes to the next production run.
Set a clear process for defective products and returns. Assign responsibility for responding to customers and reviewing defects with the factory.
After the first sales, review return reasons, customer reviews, defect reports, support tickets, sell-through speed and inventory performance. If multiple customers report the same issue, fix it before placing a larger order.

Step 7: Complete testing, certification and launch documentation
Before selling a toy in the U.S., confirm the applicable testing and certification requirements. Toys intended primarily for children 12 and under require third-party testing and a Children’s Product Certificate as described in CPSC guidance.
Your compliance folder should include product specifications, bill of materials, test reports, Children’s Product Certificate when required, warning labels, tracking label details, packaging files, instructions, factory information and photos of the final product and packaging. If a marketplace or retailer asks for proof, you want those documents ready before the listing is delayed.
Testing and certification should not be treated as the final step after production. If a design fails testing after tooling or bulk production, the cost to fix it can be much higher. Build safety review into the design and prototype phases so your product reaches production with fewer surprises.
Frequently asked questions about toy manufacturing
How long does it take to manufacture a toy?
The timeline varies with design complexity, prototype revisions and safety testing. Tooling, factory capacity and shipping also affect delivery. Build the schedule from project-specific estimates rather than assuming a standard launch time.
Do I need a prototype before contacting a toy factory?
You can contact factories with a clear concept, but a prototype or detailed design package usually makes quoting more accurate and reduces production risk.
What should I give a toy manufacturer before asking for a quote?
Share sketches or CAD files, target materials, age range, dimensions, packaging needs, expected order quantity, target retail price and any known safety requirements.
How do I choose a toy manufacturer?
Choose a toy manufacturer that already understands your toy type, target market, materials, safety requirements, tooling needs, packaging needs, order volume and quality standards. Do not choose a factory based on unit price alone.
Discover toy manufacturing companies
Have a toy idea? Bring your concept, target age range and expected order volume. Gembah can help you identify the design and sourcing work needed before factory production.