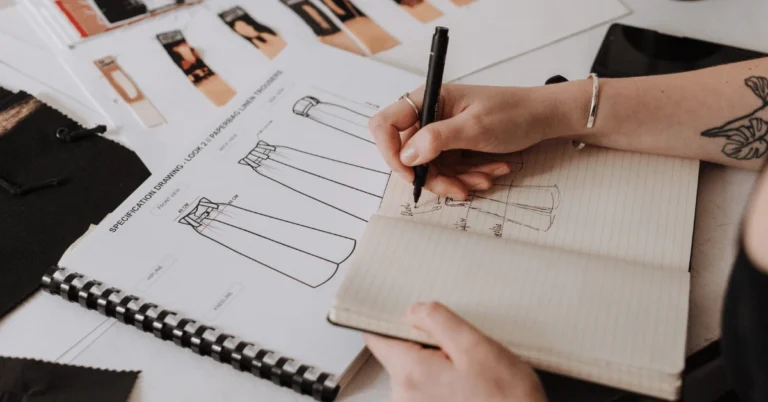
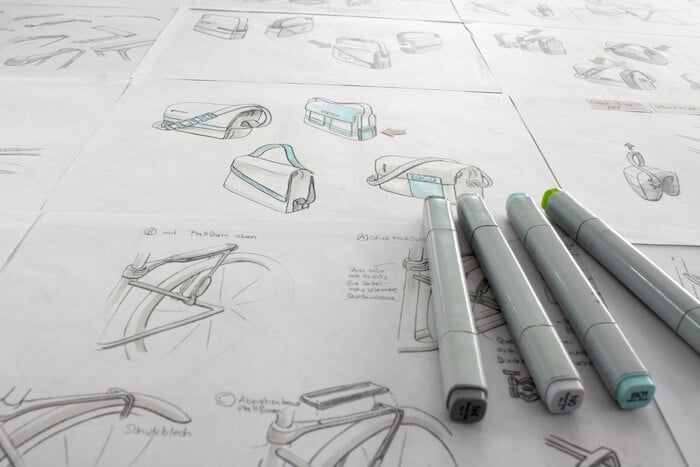
Product design sketches can start with a pen and a napkin. A quick drawing helps you capture an idea before you forget it.
Sketching is a useful part of industrial design. You can compare shapes and features before paying for detailed engineering work. You don’t need polished drawing skills to start explaining your idea.
This guide covers sketch types, drawing steps and the information a designer needs to develop your concept.
Quick answer: What is a product design sketch?
A product design sketch is a rough drawing that shows a product’s shape, key features and intended use. It helps founders, designers and manufacturers discuss an idea before investing in prototypes or tooling.
What Is A Product Design Sketch?
Product sketches can be drawn on paper or with digital drawing tools. They can show a single view, several views or a sequence explaining how the product works.
Use sketches to compare options and mark questions that still need answers. Label uncertain dimensions or materials so a rough idea isn’t mistaken for an approved specification.
The Different Types Of Product Design Sketches
Early drawings capture ideas quickly. Later drawings add enough detail to support design decisions and a handoff to engineering.
Engineering drawings define dimensions, tolerances and other production requirements. A presentation sketch or rendering serves a different purpose: explaining the design visually.

Sketches support lean product development by helping you compare options before building them. The table includes early sketches and the more detailed outputs that can follow.
Choose the drawing or model based on the decision you need to make:
| Drawing or model | Best use | Output |
|---|---|---|
| Napkin sketch | Capture a rough idea quickly | Simple shape, feature or use-case idea |
| Concept sketch | Explore product form and key features | Visual direction for discussion |
| Rendering | Show color, material and finish | More polished presentation image |
| Technical sketch | Clarify dimensions, parts or movement | Better handoff to designers or engineers |
| CAD model | Define geometry for prototype or manufacturing review | 3D file with more precise geometry |
There isn’t a single fixed count of sketch types. For a four-category overview, consider rough sketches, concept sketches, technical sketches and renderings. The table also includes CAD models, which are a separate modeling output rather than another type of hand sketch.
Drawings or Doodles
A doodle done by hand on paper can capture a shape or feature with a few lines. Add arrows and short notes to explain details the drawing doesn’t show.
Renderings
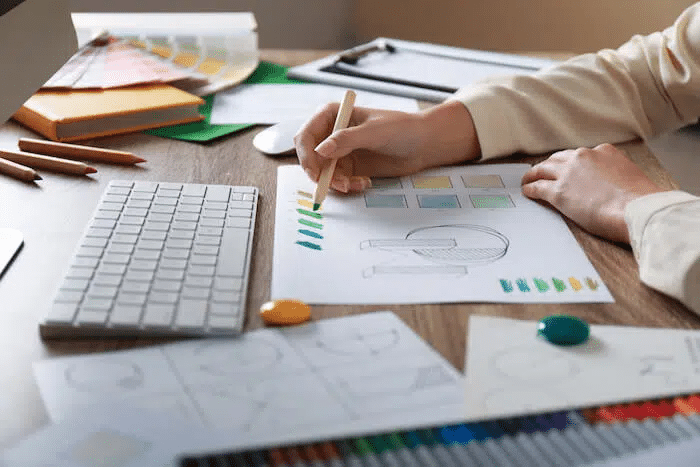
You move into renderings when adding color and more detail, like specifying materials and textures. At this point, you’ve gone from capturing the basics to conveying how the product will look.
Computer Sketches
Digital drawing tools let you revise lines, move features and compare versions. A digital sketch can still be rough. Drawing on a computer doesn’t make it a production specification.
3D CAD Models
Computer-aided design (CAD) models define three-dimensional geometry. Rendering software can use a model to create photorealistic images of your product. Dimensions, tolerances and material requirements still need to be specified for manufacturing.
How To Create (And Use) A Product Concept Sketch
Start with the decision your sketch needs to support. Capture the basic form first, then add details as the concept develops.
Step 1: Ideation
Use sketches during the ideation phase to compare the product’s shape, controls and intended use.
Draw several options instead of polishing the first one. For a handheld device, compare button positions or grip shapes. Label the difference you want your team to assess.
Step 2: Configuration
Once you decide on the basic look and feel of the product, it’s time to create sketches that explore and capture its configuration.
Draw front, side and perspective views to show how parts fit together. Add a hand or another familiar object for scale. Show what the user sees and touches.
Step 3: Design
Sketches remain useful during the design phase in the product development process. Draw over a CAD view to compare a grip, control or assembly option. Check the chosen change in the engineering model and through testing before approving it.
Step 4: Marketing
Use sketches and renderings to gather customer feedback or explain a concept to buyers. Label concept images clearly. A realistic rendering doesn’t prove that the product has been built or tested.
How To Find Product Sketch Ideas & Inspiration
Look for ideas in everyday use, competitor feedback and conversations with other people. Focus on a specific problem your product should solve.
Observe Your Surroundings
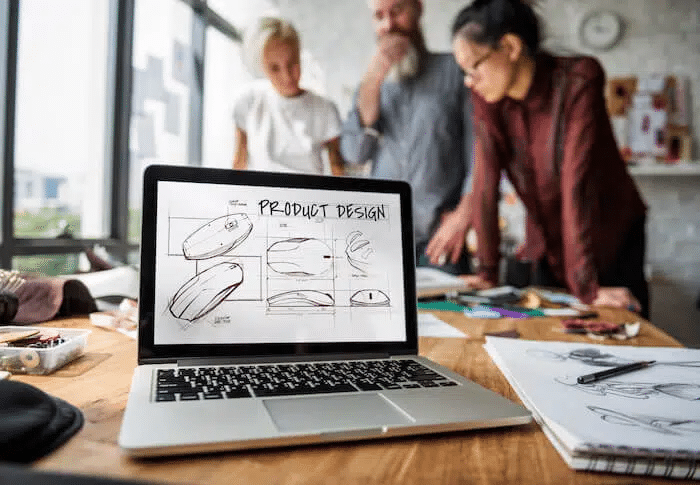
Look around your home, office or local stores. Notice where objects are hard to grip, awkward to store or difficult to clean. Sketch a change that could make one task easier.
Carry a sketchbook or use a note-taking app on your phone to capture ideas as they come. This practice helps you turn spontaneous thoughts into potential designs.
Analyze Existing Products
Look at products that are similar to what you want to create.
Read product reviews and look for repeated complaints. Draw possible improvements to the grip, storage or setup. Use those ideas to guide your own design rather than copying another product.
Collaborate and Brainstorm
Ask colleagues or potential users to draw how they would use the product. Compare their ideas with yours. Try changing one feature at a time, such as the handle, opening or storage position.
How To Work With A Design Expert To Create Useful Product Prototype Sketches
Give your designer a clear purpose, target user and list of requirements. Agree on which questions the sketches should answer before moving into CAD or prototypes.
1. Define the concept you want sketched
Explain who will use the product and what it should do. Tell the designer whether the sketches are for internal decisions, user feedback or an engineering handoff. This guides the detail needed during ideation.
2. Compare basic sketches and simple renderings
Start with size, shape and basic features. Compare several concept sketches before spending time on surface detail or presentation quality.
3. Group key features and solidify the product sketch’s style
Once you’ve chosen a size and shape, list the features the product needs. Mark displays, buttons and hand grips on the drawing. Explain what each one does.
Work with them to create detailed product concept sketches and renderings that define the product’s function and appearance. At this point, your designer will create realistic images. You and your team can use the renderings to make decisions and share them with other teams in your project to convey your design ideas.
4. Move into 3D and CAD renderings
To capture more information about your product, your sketch should include details that reflect how it will be made and assembled and what materials you will use.
Have the designer add material notes or reference samples. Use renderings to compare colors and finishes. Keep confirmed material specifications separate from visual suggestions.
5. Show the product’s functionality
Use several views or a short sequence to explain the product’s functions.
Show moving parts in different positions and draw how a person holds or uses the product. Ask your designer whether animation would explain a movement more clearly than still images.
The difference between industrial design and product design helps explain the next handoff. Sketches communicate appearance and use. Engineering work turns the chosen concept into specifications that can be reviewed, prototyped and tested.
What to include before sharing a product sketch with a designer or manufacturer
Include the product’s purpose, target user and rough dimensions. List must-have features and materials you’re considering. Add your price target, competitor references and any known safety or performance requirements. Mark assumptions clearly so the designer knows what still needs checking.
Frequently asked questions about product design sketches
Are product design sketches still useful with CAD?
Yes. A quick sketch lets you compare shapes and features before building a detailed CAD model. Sketches also help explain proposed changes during engineering and prototype review.
How detailed should a product design sketch be?
Use enough detail to answer the current design question:
- During ideation, show the basic shape and features you want to compare.
- During configuration and design, show how parts fit together and how a person uses the product.
- During prototype planning, add dimensions and notes for engineering review. Use renderings separately to discuss appearance.
Do manufacturers need sketches or CAD?
A sketch can start a discussion with a manufacturer, but production needs agreed specifications. For an engineered product, those can include CAD models, dimensions, tolerances and material requirements. The required files vary with the product and process. Confirm the handoff with your designer and factory before approving tooling or production.
Start Capturing And Conveying Your Product Ideas
Gembah’s product design experts can help you develop a rough idea into concept drawings and a plan for the next stage.
Bring your sketch, target user and must-have features to get product design guidance. Include the questions you need answered before paying for CAD or a prototype.
Use the Gembah contact page to share your product idea and the work completed so far.
Save dated versions of your sketches. They help the team track decisions and understand why a feature changed.